Creating A New Code Coverage Project
NCover's Auto-Configure feature makes it easy to set up a code coverage project to cover all, or a selected part, of your .NET code-base.
To get started with NCover Code Central or Desktop you will create a new project by clicking on the + Add New button in the top right of the browser. Projects contain the configuration settings and are the container for your code coverage results.
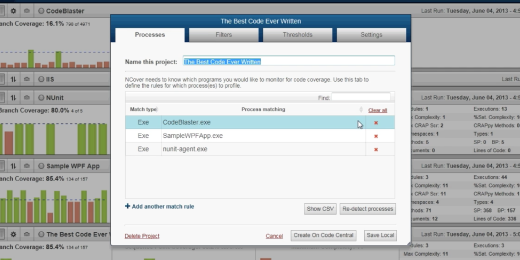
One of the easiest ways to setup your project is with the Auto-Configure feature. After you click Auto-Configure, start your tests as you normally would and NCover will begin monitoring all the .NET code running locally on your machine. NCover will detect your code as it is tested and display each process and module in the Auto-Configure window. By checking or unchecking processes and modules, you can choose what code you want NCover to include and what code to ignore.
It is important to note that the Auto-Configure feature only works locally on the machine on which either NCover Desktop or Code Central are installed. Any of the settings created during the Auto-Configure process can be modified at any time.
For NCover to profile any process, the NCover service must be able to attach to the process when it starts. Any currently running services, including IIS, and any executing tests must be restarted while the Auto-Configure process is active. On Desktop, you will have the option to Create on Code Central or Save Locally. The Create on Code Central option will automatically create the project on Code Central and sync all local coverage results with the Code Central server. Saving locally will save all coverage results on your local machine and will not push any of the results to Code Central.
